It’s indigo season again! Every year I process at least a small amount of the indigo from my garden into an pigment that I can use for various things later. I’m particularly fond of using this technique earlier in the season when I’m propagating cuttings and stripping the leaves off of the stems in order to do so. Thie photos in this post show indigo pigment being processed from fresh leaves of Persicaria tinctoria (commonly called Japanese Indigo, but this is not the process used in traditional Japanese aizome), which is my personal preference, but this technique will work with most other indigo bearing plants as well.
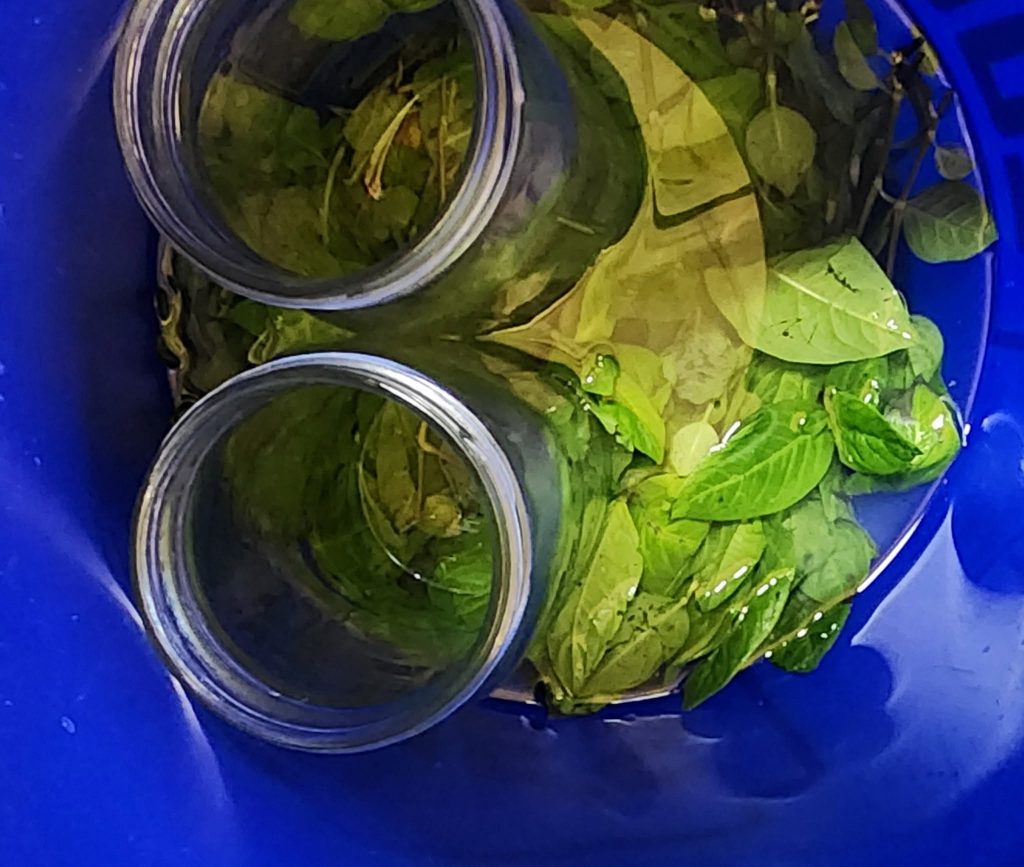
Fresh leaves go in a container and are covered with water. I used plastic buckets, but you can use pretty much anything that holds water and isn’t a reactive metal. I have had great success with both hot water and cold water extractions. The hotter the water, the faster the extraction, but also the less room for error. The image below shows the leaves weighted down under water that was hot, but not scalding to the touch. The ambient temperature was in the 90f-95f range and the initial color change was visible within an hour.
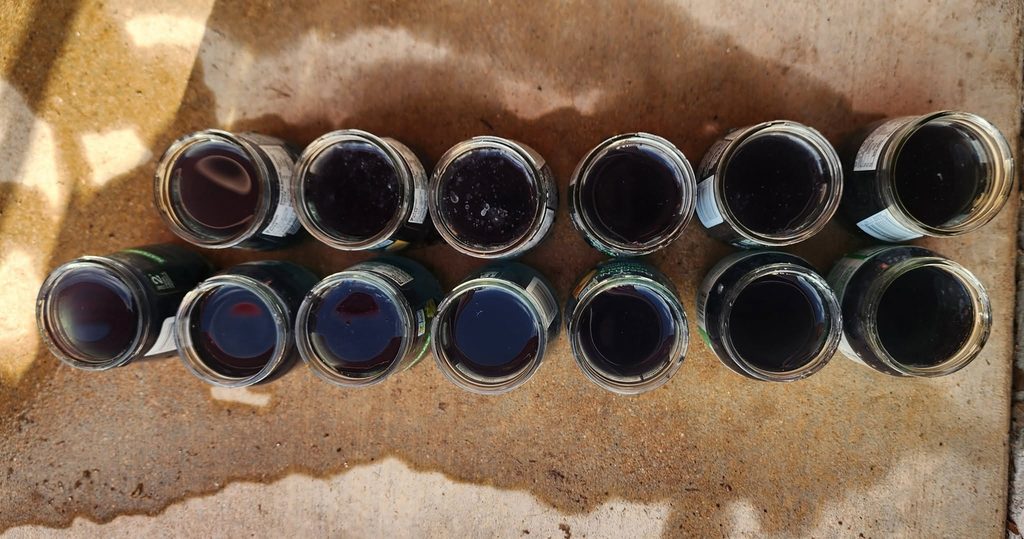
The next image with the pale blue tinted water was the first visible color.
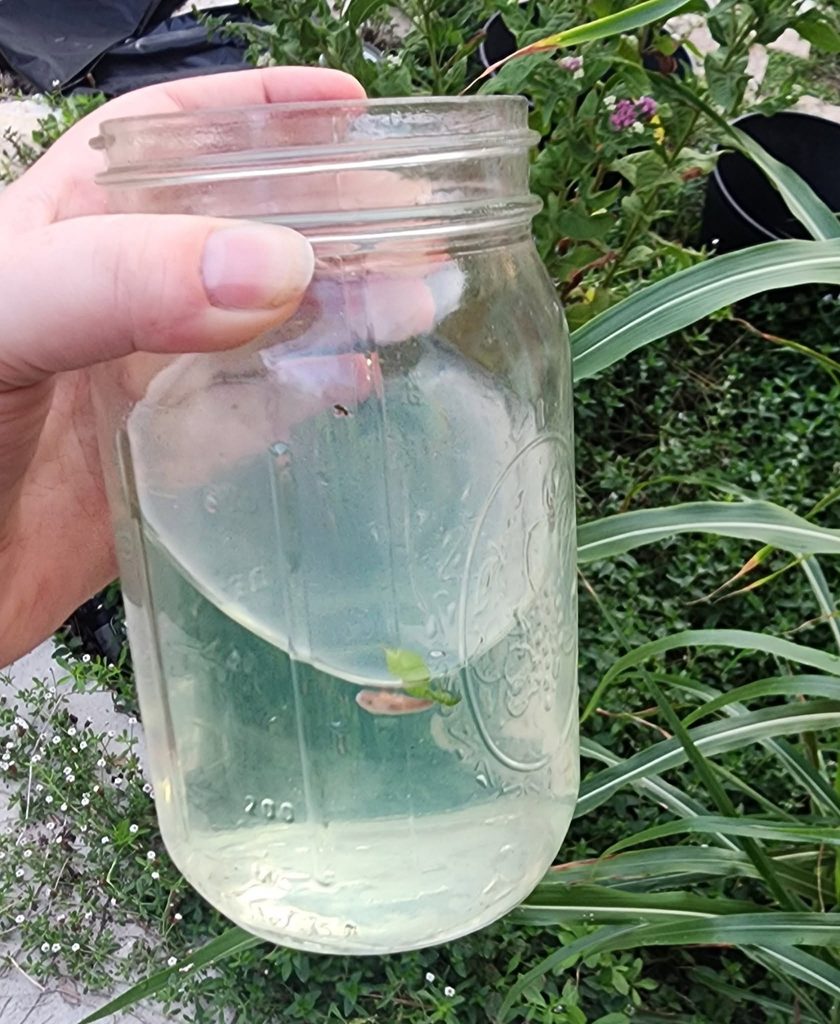
The third image with the deeper blue tint was a few hours later. I separated the leaves from the liquid at that stage because there is a tipping point that I find at very close to this color after which the indigo starts to breakdown and will not settle into pigment.
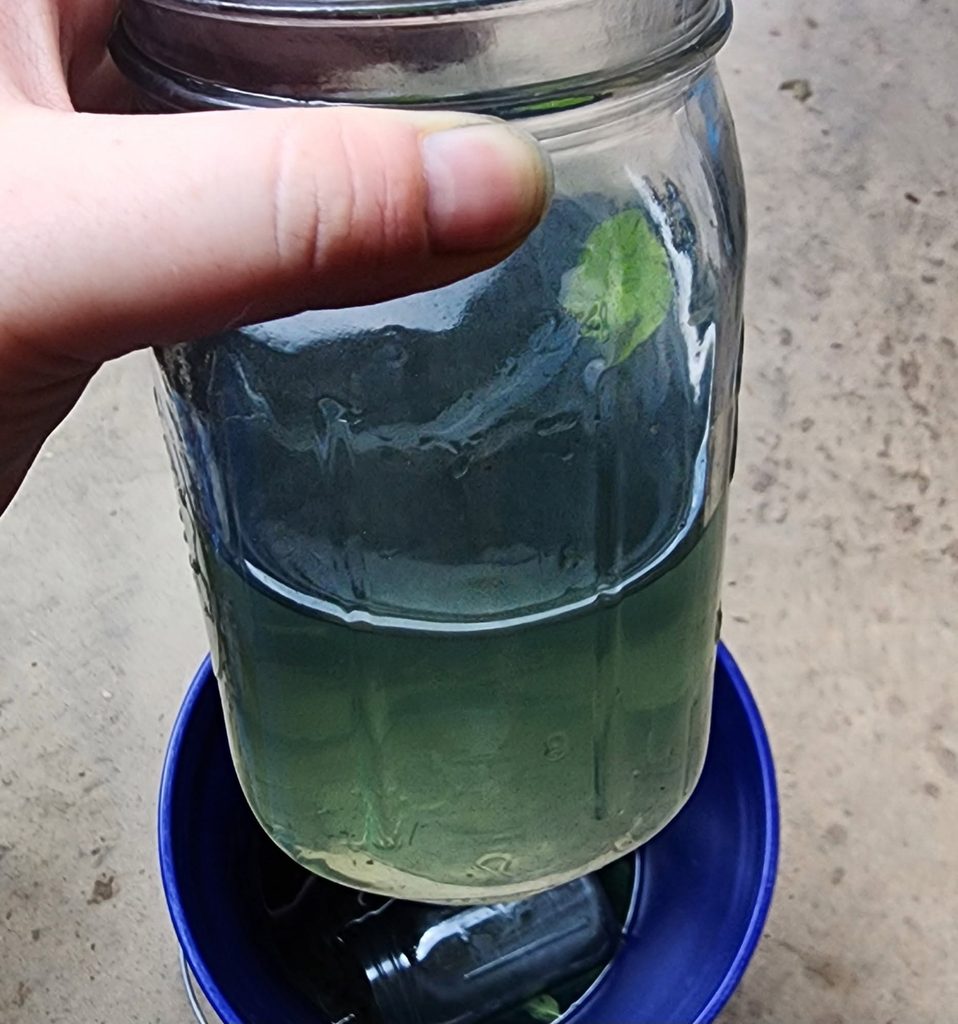
I did put the leaves back in with fresh (cold) water for a second extraction. That one took a couple of days, but also produced indigo. From here, indigo water becomes indigo pigment!
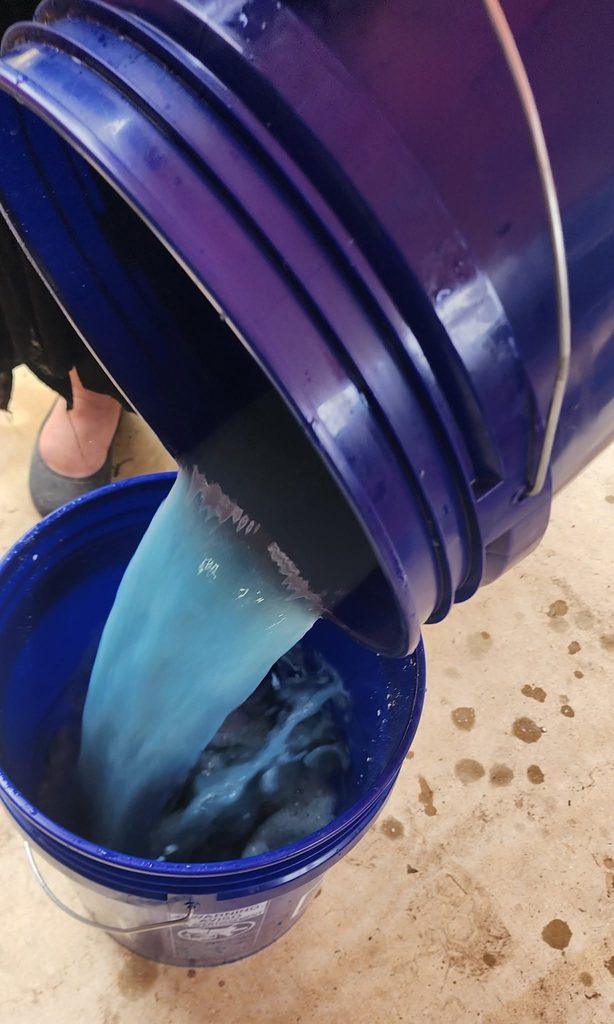
Once the indigo compound found in the leaves has been extracted into the water, it is time to oxidize the indigo. This creates a more stable form of indigo that can be separated out, dried, and saved for later. This was done by pouring the liquid back and forth between two buckets (shown below). There are other ways to do this, such as whisking or using a bubbler. Anything that introducing a lot of oxygen to the liquid will work.
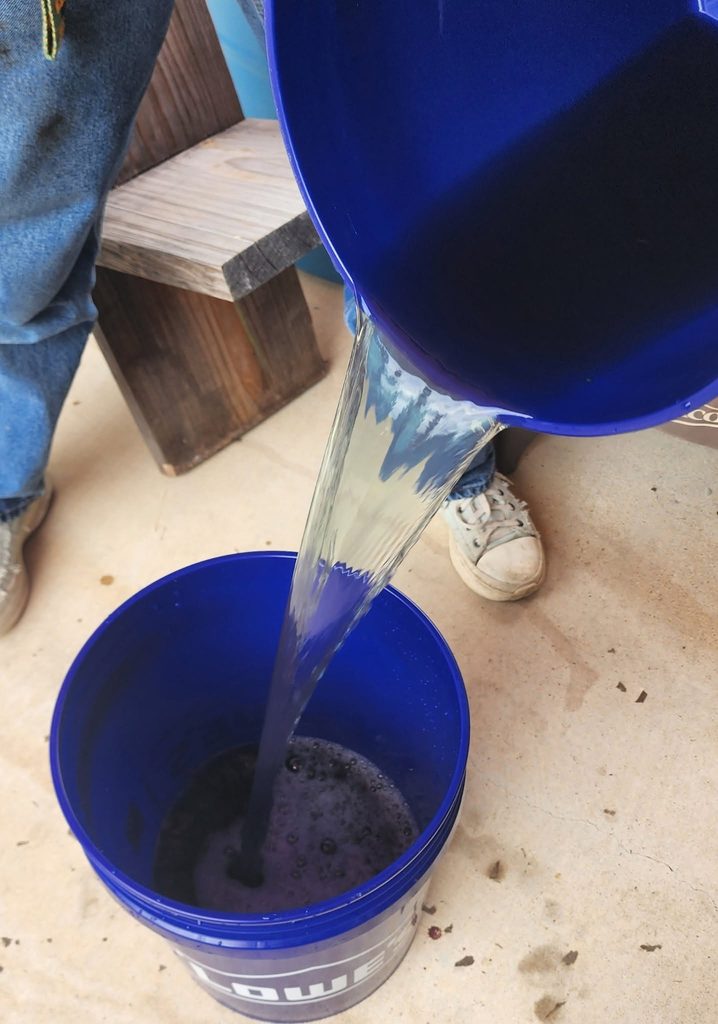
This causes a color change in the indigo resulting in a dark blue liquid.
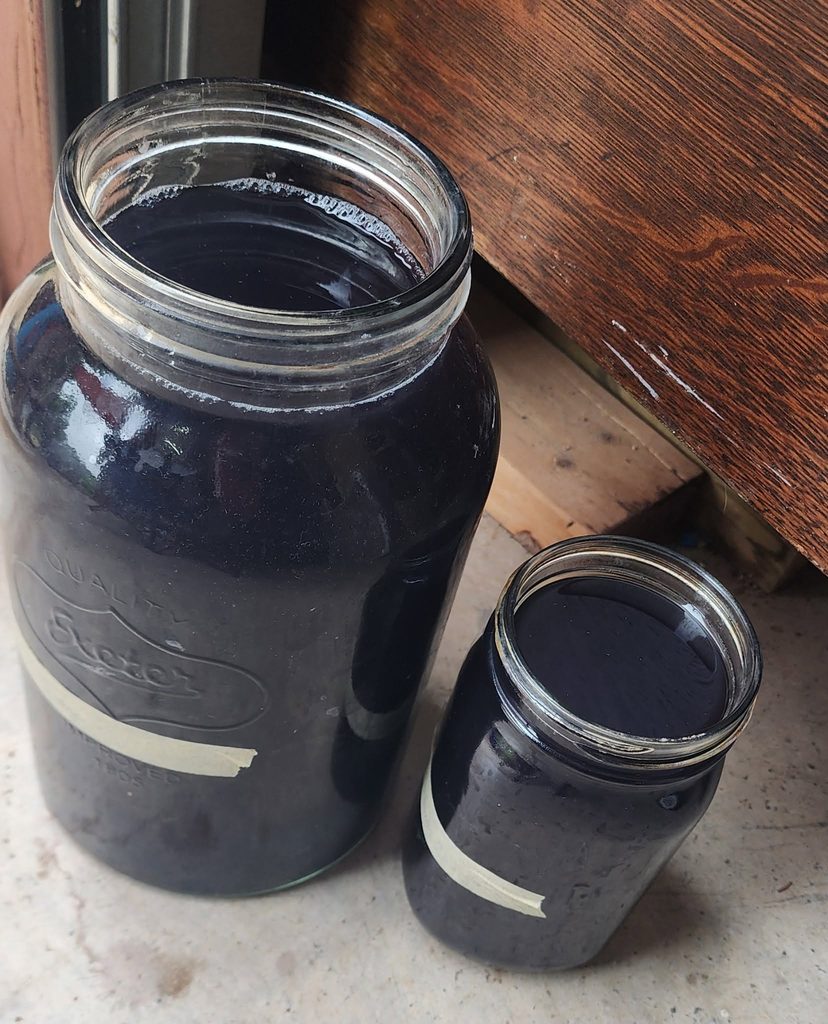
After that, lime was added and mixed by pouring between buckets again (photo below).
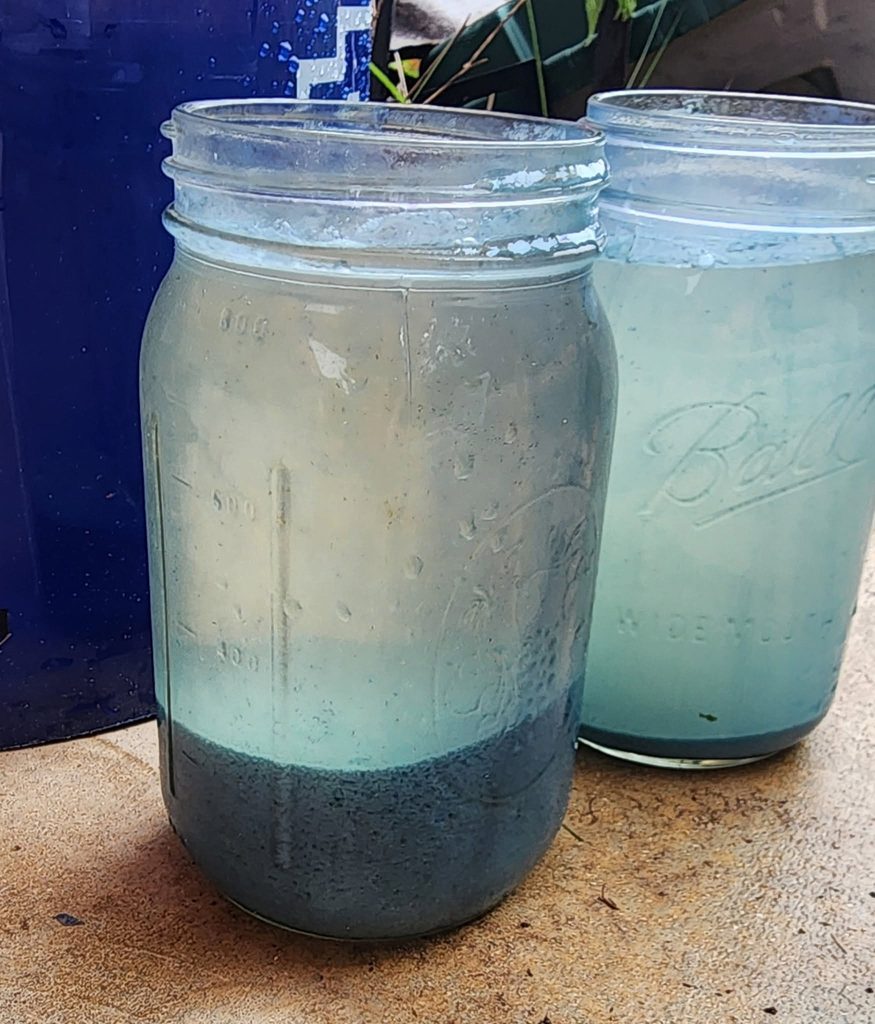
This allows the indigo to bind to the lime so it will separate from the liquid and settle to the bottom of the container (photo below, one jar almost fully settled, one still in progress). The resulting pigment can be stored as sludge in cool conditions, or dried to be stored for years.